Use CAPTCHA or reCAPTCHA with custom portlet in Liferay

Introduction
CAPTCHA is a “Completely Automated Public Turing test to tell Computers and Humans Apart”. It is used in the computer world to determine whether an end-user is human or non-human. Liferay provides necessary API as well as tag library to implement CAPTCHA in your custom portlet. Also you can integrate Google reCAPTCHA in your custom portlet.
Prerequisites
- Java
- Liferay portal 7/7.x
Environment Requirement
- JDK
- Eclipse
- MySQL
Use CAPTCHA in custom portlet
Assuming you’ve already created a Liferay-workspace project
Follow below steps to implement CAPTCHA in your custom portlet
1) Create MVC Portlet
Go to liferay workspace project → modules → new
Select other → Liferay → Liferay Module Project and Click on Next
Enter project name
Select “Project Template Name” as “mvc-portlet” and Click on “Next”
Enter Package name and Click on “Finish”
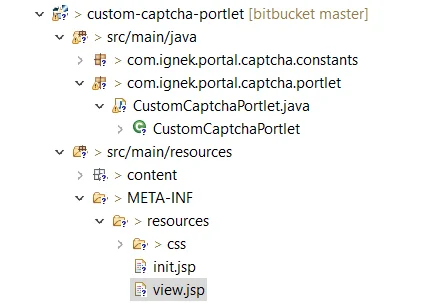
The necessary file structure for mvc module will get created as below
2) Now add below code in view.jsp
1// view.jsp //
2<%@ include file="/init.jsp" %>
3<%@ taglib uri="http://liferay.com/tld/util" prefix="liferay-util" %>
4<%@ taglib uri="http://liferay.com/tld/captcha" prefix="liferay-captcha" %>
5<%@ page import="com.liferay.portal.kernel.captcha.CaptchaTextException"%>
6
7<portlet:actionURL name="basicFormDataWithCaptcha" var="basicFormDataWithCaptchaAActionURL" />
8<portlet:resourceURL id="captcha" var="captchaResourceURL"/>
9
10<liferay-ui:error
11    exception="<%= CaptchaTextException.class %>"
12    message="captcha-verification-failed" />
13<aui:form method="post" name="basicForm" action="<%= basicFormDataWithCaptchaAActionURL %>">
14    <aui:input name="firstName" >
15        <aui:validator name="alpha"/>
16    </aui:input>
17    <aui:input name="lastName" >
18        <aui:validator name="alpha"/>
19    </aui:input>
20    <liferay-captcha:captcha url="<%= captchaResourceURL %>"/>
21    <aui:button type="submit" value="Submit"></aui:button>
22</aui:form>
3) Create Action method in CustomCaptchaPortlet
1// CustomCaptchaPortlet.java //
2package ...;
3import ...;
4
5@Component(
6 ...
7)
8public class CustomCaptchaPortlet extends MVCPortlet {
9 private Log log = LogFactoryUtil.getLog(this.getClass().getName());
10
11 @ProcessAction(name = "basicFormDataWithCaptcha")
12 public void basicFormDataWithCaptcha(ActionRequest actionRequest, ActionResponse actionResponse)
13 throws IOException, PortletException {
14 String firstName = ParamUtil.getString(actionRequest,"firstName");
15 String lastName=ParamUtil.getString(actionRequest,"lastName");
16 log.info("First Name : " + firstName);
17 log.info("Last Name : " + lastName);
18
19 try{
20 CaptchaUtil.check(actionRequest);
21 log.info("CAPTCHA verification successful.");
22 }catch(Exception exception) {
23 if(exception instanceof CaptchaTextException) {
24 SessionErrors.add(actionRequest, exception.getClass(), exception);
25 log.error("CAPTCHA verification failed.");
26 }
27 }
28 }
29
30 @Override
31 public void serveResource(ResourceRequest resourceRequest, ResourceResponse resourceResponse)
32 throws IOException, PortletException {
33 try {
34 CaptchaUtil.serveImage(resourceRequest, resourceResponse);
35 }catch(Exception exception) {
36 log.error(exception.getMessage(), exception);
37 }
38 }
39 protected boolean isCheckMethodOnProcessAction() {
40 return _CHECK_METHOD_ON_PROCESS_ACTION;
41 }
42 private static final boolean _CHECK_METHOD_ON_PROCESS_ACTION = false;
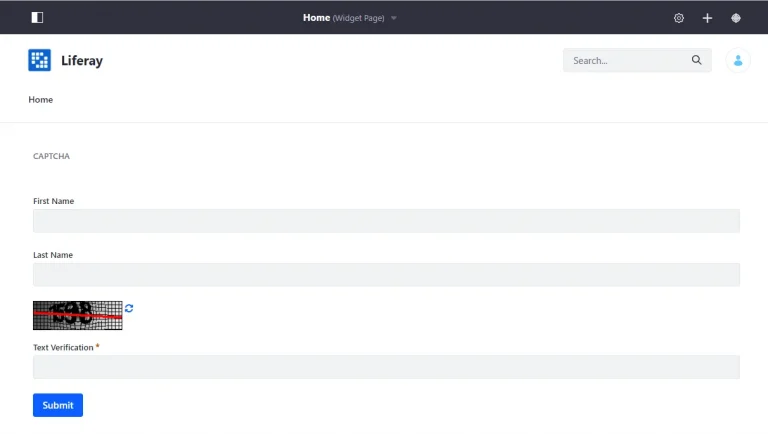
43}Output with CAPTCHA
Use Google reCAPTCHA in custom portlet
To integrate Google reCAPTCHA in Liferay please follow below steps
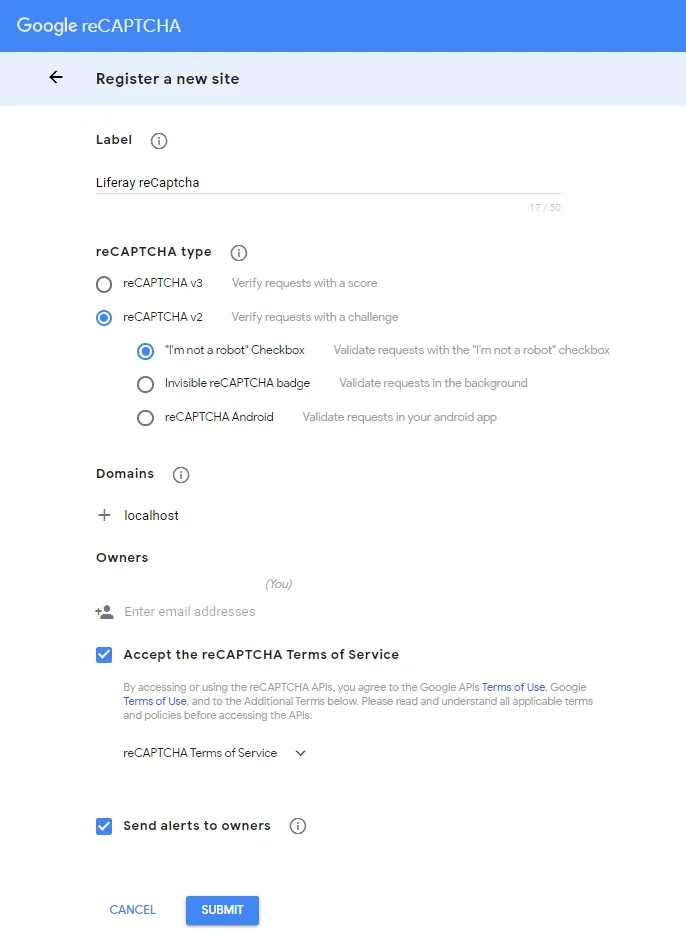
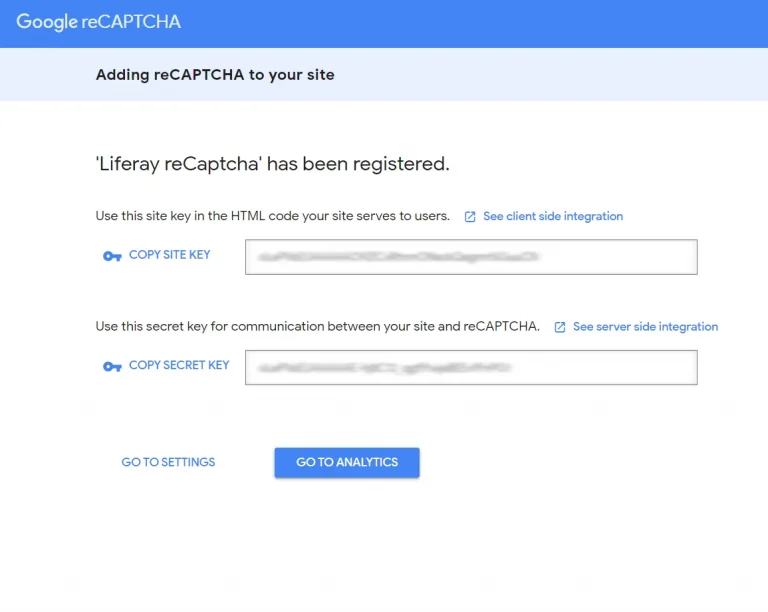
1) Get Site key & Secret key from Google reCAPTCHA
Go to www.google.com/recaptcha in your web browser
Click on “Admin console” button (Located at top-right corner)
Fill up your details in the form and then click on “Submit”
You will get “Site key & Secret key” as below image. This you will require while configuring Google reCAPTCHA with Liferay
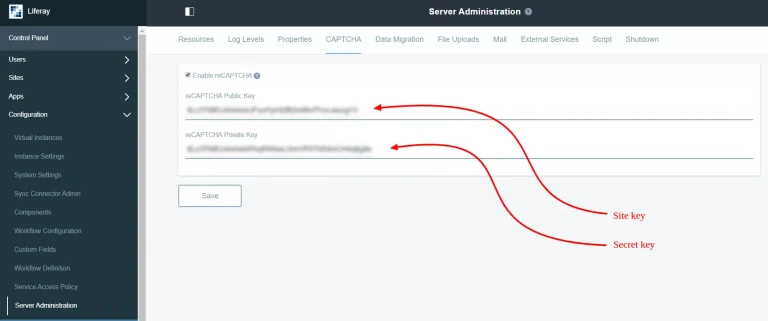
2) Enable Google reCAPTCHA in your Liferay
Login as admin user
Navigate to Control Panel → Configuration → Server Administartion → CAPTCHA
Click on checkbox to “Enable reCAPTCHA”
Enter “reCAPTCHA public key” and “reCAPTCHA private key”
You need to enter your “site key” in “reCAPTCHA public key” field, and “secret key” in “reCAPTCHA private key” field
Click on ‘Save’
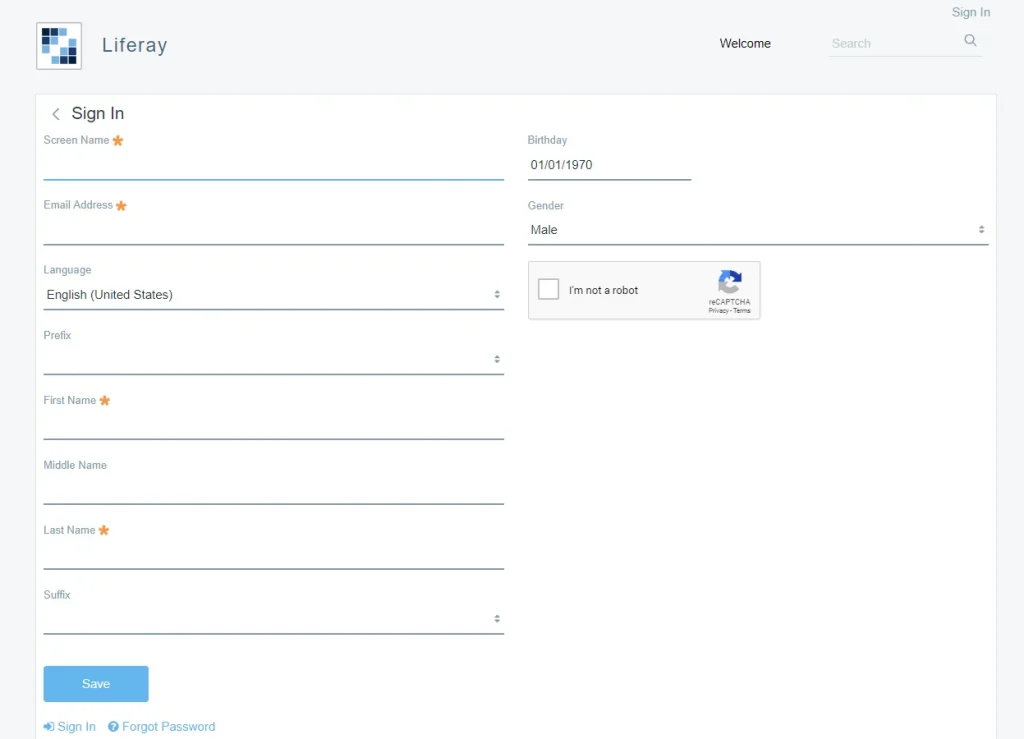
To test Google reCAPTCHA is properly configured or not. Logout from Liferay and go to Create Account page. You can see a default Liferay CAPTCHA is replaced with the new Google reCAPTCHA
3) Use Google reCAPTCHA in your Custom Portlet
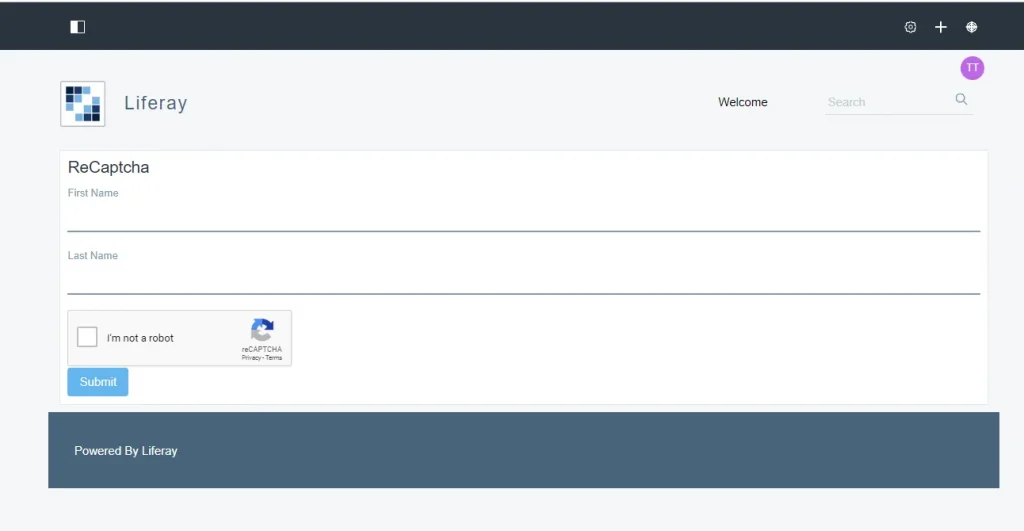
Once you configure reCAPTCHA from control panel below code will render google reCAPTCHA
1<liferay-captcha:captcha url="<%= captchaResourceURL %>"/>If we configure reCAPTCHA from Liferay control panel, Output of above ‘custom-captcha-portlet’ will look like below