Trigger External Microservices from Object Actions with Client Extensions

Introduction
In today’s enterprise systems, microservices help applications stay modular, independent, and scalable. Liferay Objects enable us to manage business entities along with custom fields and custom actions. The integration of Object Actions with Client Extensions enables Liferay to be easily integrated with external microservices.
This blog post will guide you on how to set up a Liferay Object to initiate an external microservice client extension. This facilitates the continuous synchronization of data, real-time triggering of external APIs, and the ability to perform additional business logic outside of the Liferay environment.
Prerequisites
- Liferay DXP/Portal 7.4+
- Basic knowledge of Liferay Objects and Client Extensions
- Configured microservice client extension in workspace
Environment Requirements
- Java
- Liferay
Calling External Microservices from Object Actions
Step 1: Create the .yaml file
Let’s assume you already have a microservice client extension configured in your Liferay Workspace. Now, to call this microservice on any object action, we need to define the object action in yaml file.
- Create the client-extension.yaml file:
1assemble:
2    - fromTask: bootJar
3
4liferay-object-entry-spring-boot-application:
5  .serviceAddress: localhost:58081
6  .serviceScheme: http
7  name: liferay-object-entry-spring-boot-application
8  scopes:
9    - Liferay.Headless.Delivery.everything
10    - Liferay.Headless.Admin.Workflow.everything
11  type: oAuthApplicationUserAgent
12liferay-object-entry-spring-boot-object-action:
13    name: Liferay Object Entry Spring Boot Object Action
14    oAuth2ApplicationExternalReferenceCode: liferay-object-entry-spring-boot-application
15    resourcePath: /object/action
16 type: objectAction- By defining liferay-object-entry-spring-boot-object-action with type: objectAction, Liferay allows calling this microservice from the object action.
Step 2: Get the object data in the rest controller
To get object entry data, update your rest controller as follows:
1@RequestMapping("/object/action")
2@RestController
3public class ObjectEntryRestController extends BaseRestController {
4	private static final Log _log = LogFactory.getLog(ObjectEntryRestController.class);
5
6	@PostMapping
7	public ResponseEntity<String> create(@AuthenticationPrincipal Jwt jwt, @RequestBody String json) {
8
9		log(jwt, _log, json);
10
11		//write your business logic
12
13		return new ResponseEntity<>(json, HttpStatus.OK);
14	}
15}
Note: Make sure the controller’s endpoint matches the resourcePath you defined in the YAML file (e.g., resourcePath: /object/action).
Step 3: Deploy the client extension
- Open a terminal window.
- Navigate to your client extension project directory.
- Run the following command to deploy the extension to your Liferay instance:
- ../../gradlew deploy
Step 4: Start the Microservice Application
After deploying the client extension, you need to start the microservice.
- Open a terminal and navigate to the microservice client extension directory.
- Run the following command to start the application:
- ../../gradlew bootRun
Step 5: Create an Object Action to call the Microservice
Now you can call the microservice by creating an object action.
- Create an object action by creating a new object or an existing object.
- Navigate to the Control Panel > Objects.
- Open your object.
- Click on the Actions tab.
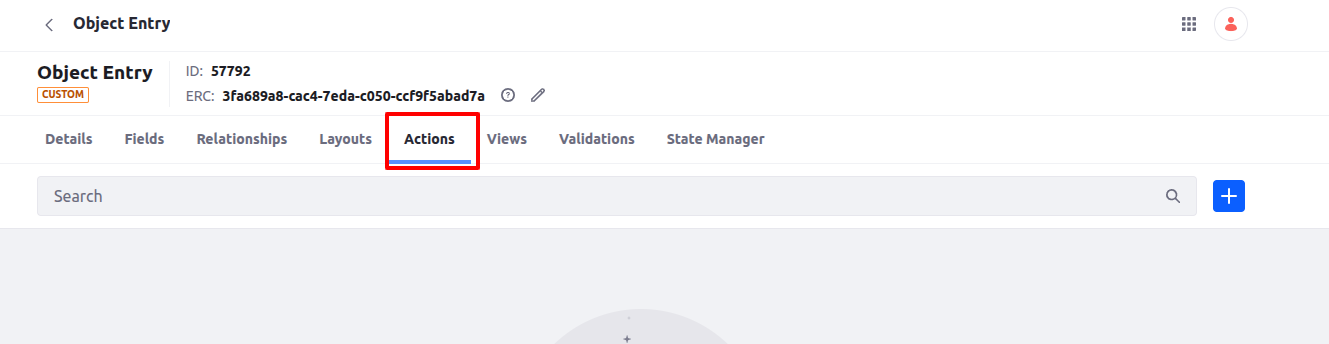
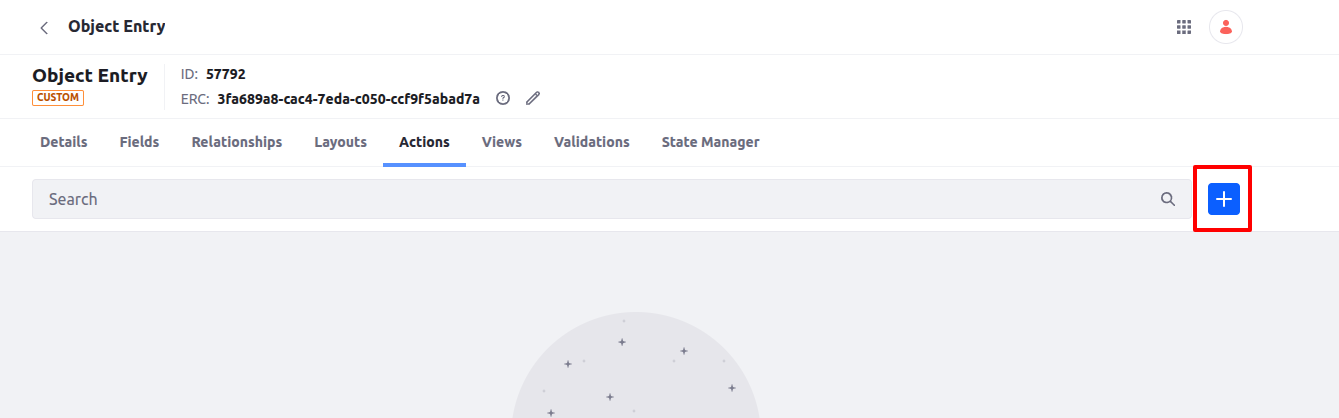
- Click on the + icon to create an object action.
- Add the name of the action.
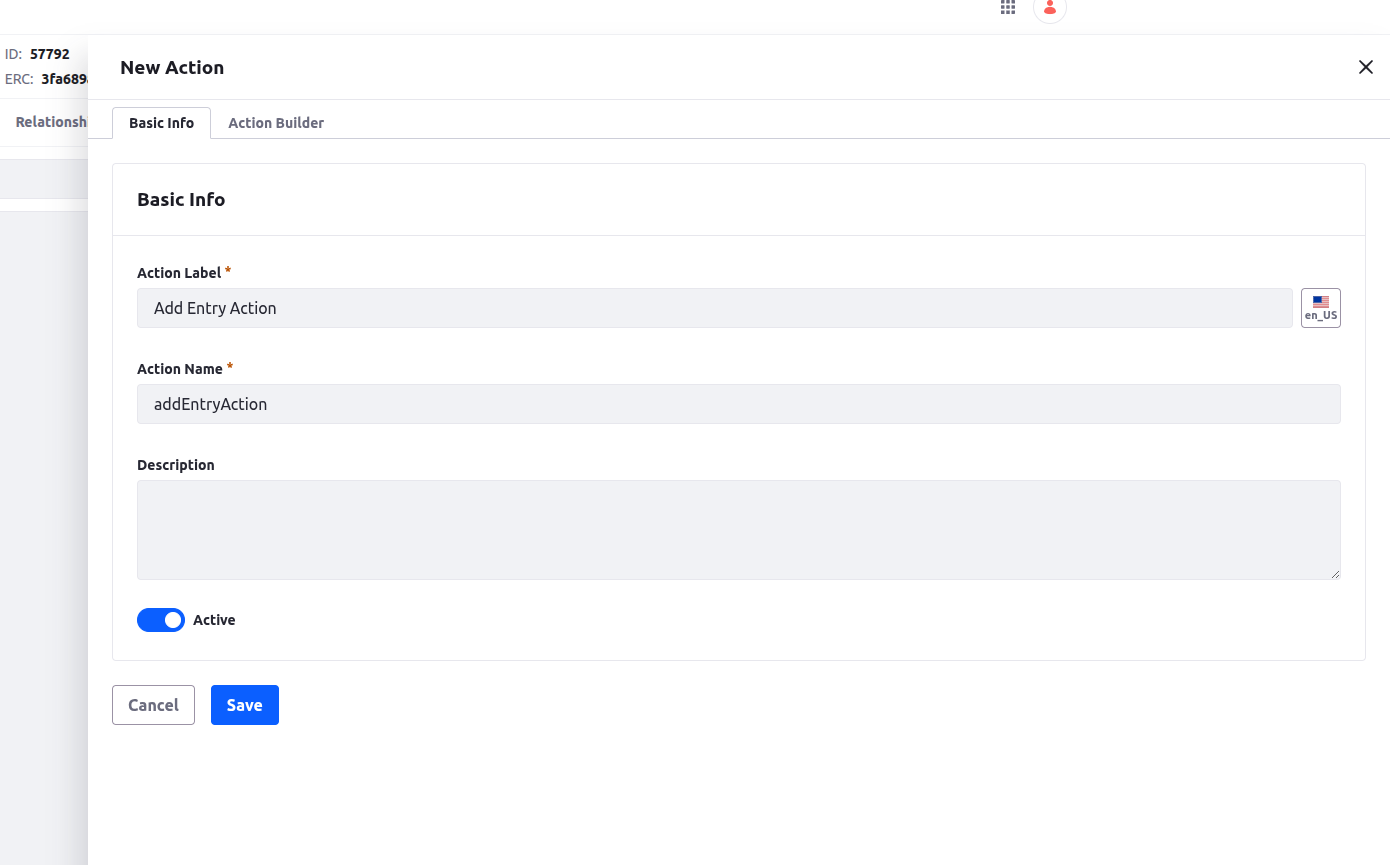
- Navigate to the Action Builder tab.
- Select the trigger action.
- As the Action select object-action-executor[function#liferay-object-entry-spring-boot-object-action]
- This tells Liferay which client extension function to execute when the object action is triggered.
- Click on the save button.
Step 6: Add new object entry
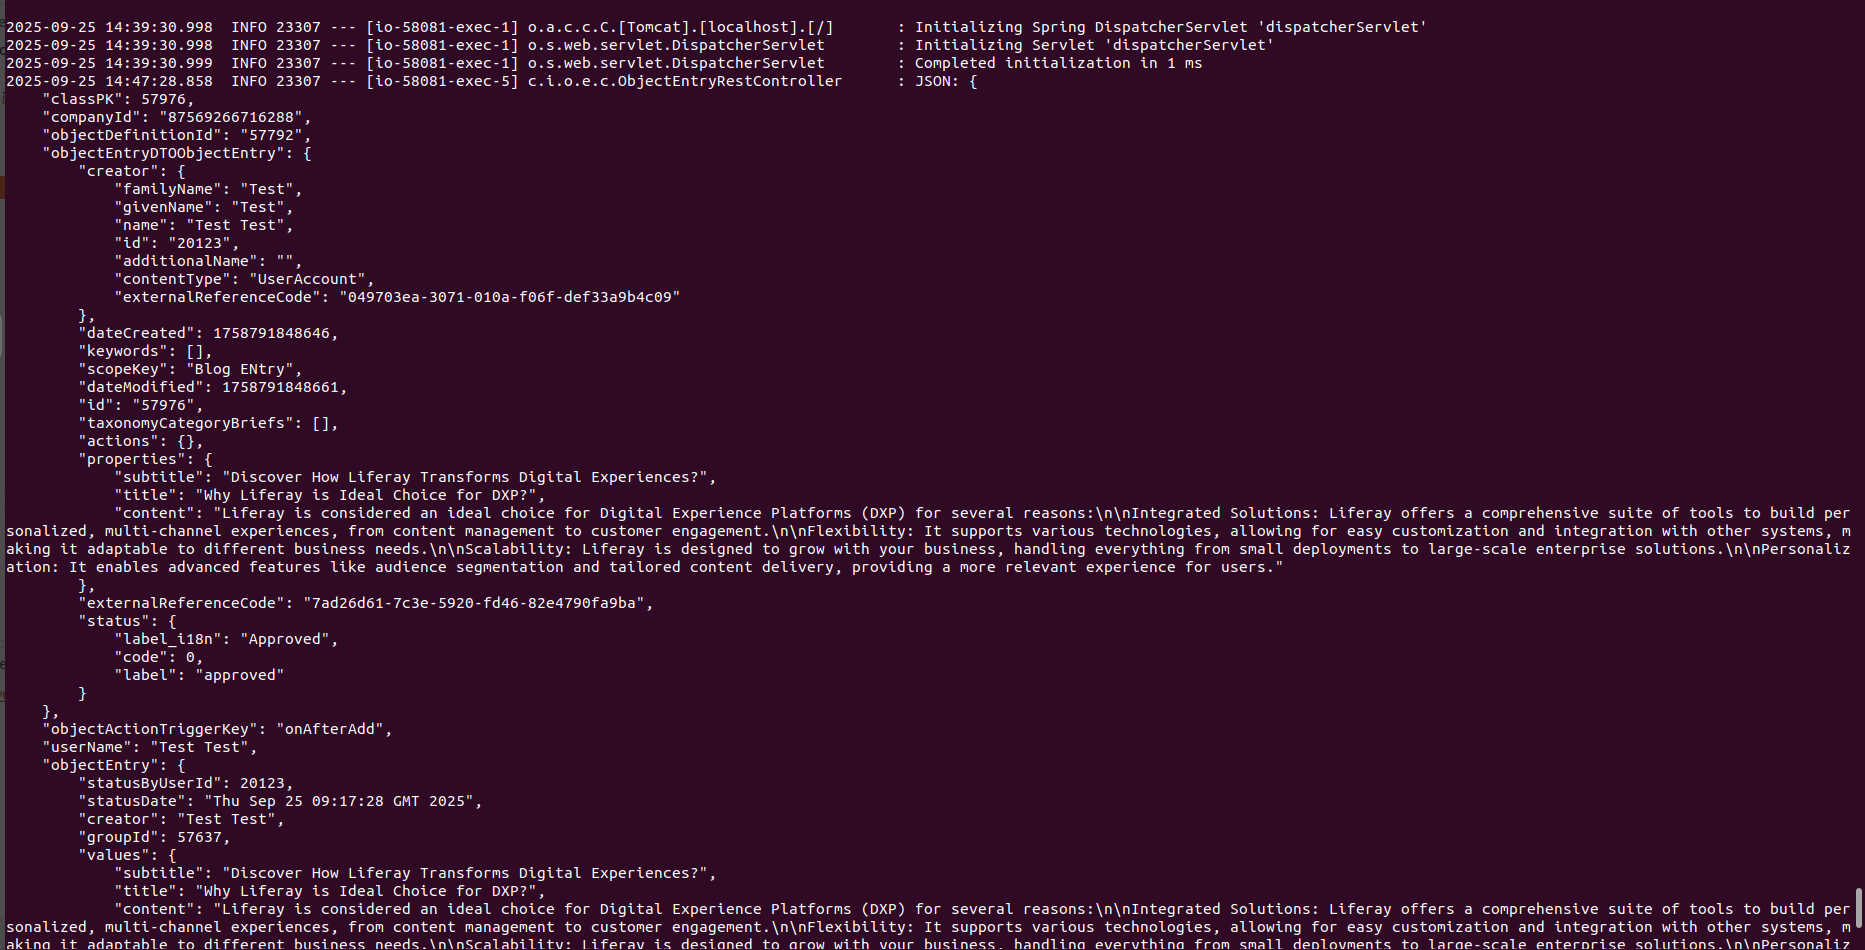
Now add a new entry in your object.
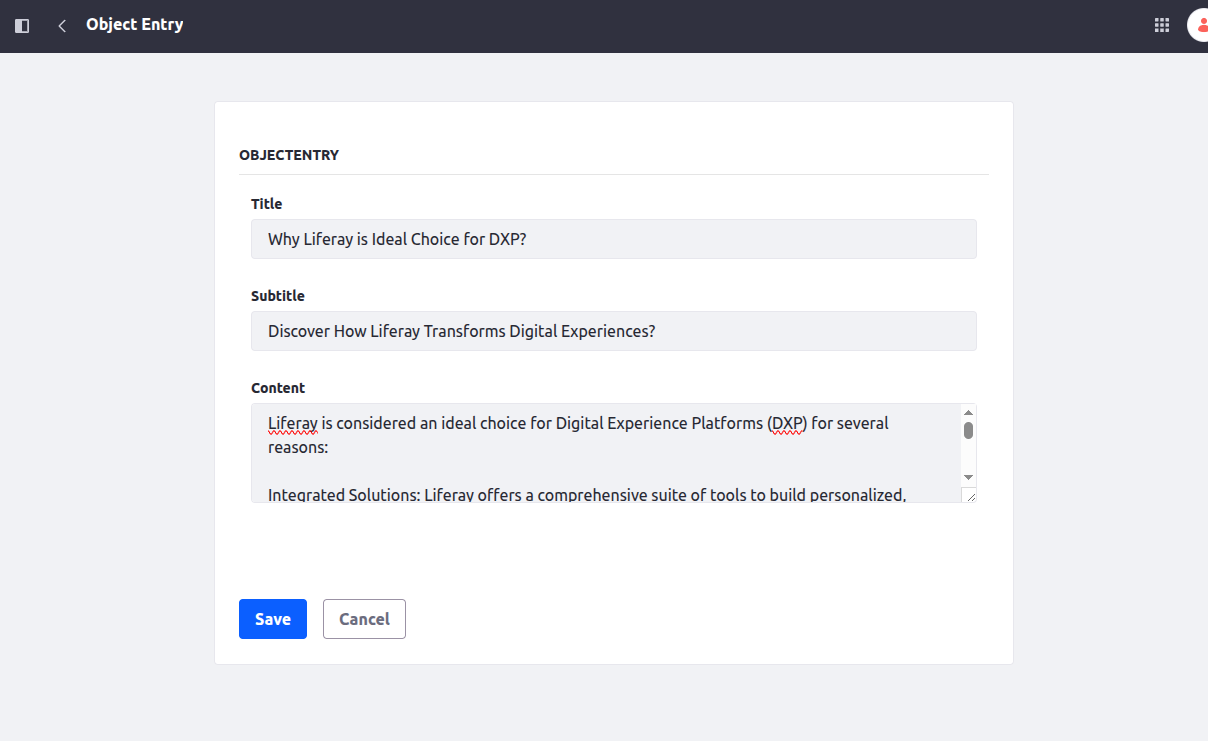
Now, check the terminal where your microservice is running. You should see the incoming object entry data in JSON format. This confirms the integration is working.
- Now, when a new object entry will added, then the object will call the microservice and send that entry data.
- You can apply any business logic based on that entry, like perform any action using Liferay’s headless API’s, calling external APIs.
Conclusion
Integrating Liferay Objects with external microservices is quite straightforward with client extensions. Such integration can automate business workflows, enable real-time data synchronization across systems, and extend workflows beyond Liferay with minimal custom code.
Such extensions help maintain a flexible architecture and improve system modularity, maintainability, and ease of modification.