Setting Up Liferay with PostgreSQL Using Docker

Introduction
Nowadays, working with platforms like Liferay can get tricky when setting up across different environments. That’s where Docker comes in. It's a practical way to keep things consistent, whether you’re developing locally or deploying in production.
Using Docker, you can bundle up Liferay and all its dependencies neatly, which saves time and avoids the usual "it works on my machine" issues. And when you bring PostgreSQL into the mix, things get even smoother, especially for setups where you need a reliable backend and can’t afford to lose data.
Why Use Docker for Liferay + PostgreSQL?
One major plus is data persistence. With Docker volumes, your data doesn’t vanish even if you shut down a container. That’s a big deal for content-heavy systems like Liferay, where every piece of data matters. Combined with PostgreSQL, you get a sturdy foundation for development and production.
Prerequisites
Before jumping in, make sure you’ve got the following ready:
- JDK 11 or newer
- PostgreSQL
- Docker and Docker Compose are installed
Environment Requirements
To proceed with this setup, you should have:
- Docker
- Containerization engine
- Docker Compose
- Tool for defining and running multi-container Docker applications
Setting Up Liferay Docker for Connecting to PostgreSQL
Step 1: How to start Liferay with Docker
If you are unaware of Liferay on Docker, start learning the basics. Follow this step-by-step guide to set up Liferay using Docker (click here):
Step 2: Create Your Folder Structure
Start by organizing your project directory. Here’s a recommended folder structure:
1SERVER/
2├── docker-compose.yaml
3└── volumes/
4   ├── liferay/
5   │   ├── data/
6   │   ├── deploy/
7   │   ├── osgi/
8   │   ├── tomcat/
9   │   │   └── bin/
10   │   └── portal-ext.properties
11   └── postgres/
12       └── data/
13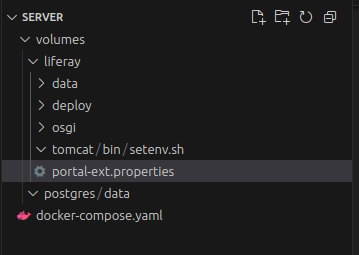
This structure helps in managing mounted volumes clearly for both Liferay and PostgreSQL.
Step 3: Create and Configure docker-compose.yaml
Here's the configuration you can place inside your docker-compose.yaml:
1services:
2 postgres:
3   image: postgres:13
4   container_name: postgres1
5   ports:
6     - '5433:5432'
7   environment:
8     POSTGRES_USER: root
9     POSTGRES_PASSWORD: root
10     POSTGRES_DB: ignekBLOG
11   volumes:
12     - ./volumes/postgres/data:/var/lib/postgresql/data
13   networks:
14     - default
15
16
17 liferay:
18   image: liferay/portal:7.4.3.120-ga120
19   container_name: liferay1
20   ports:
21     - "8010:8010"
22     - "8082:8080"
23     - "8443:8443"
24     - "11311:11311"
25   environment:
26     LIFERAY_JPDA_ENABLED: "true"
27     JPDA_ADDRESS: 8000
28     JPDA_TRANSPORT: dt_socket
29     LIFERAY_RETRY_PERIOD_JDBC_PERIOD_ON_PERIOD_STARTUP_PERIOD_DELAY: 10
30     LIFERAY_RETRY_PERIOD_JDBC_PERIOD_ON_PERIOD_STARTUP_PERIOD_MAX_PERIOD_RETRIES: 10
31     LIFERAY_JVM_OPTS: "-Xms4096m -Xmx8192m"
32   depends_on:
33     - postgres
34   volumes:
35     - ./volumes/liferay/data:/opt/liferay/data
36     - ./volumes/liferay/portal-ext.properties:/opt/liferay/portal-ext.properties
37     - ./volumes/liferay/deploy:/opt/liferay/deploy
38     - ./volumes/liferay/osgi/modules:/opt/liferay/osgi/modules
39     - ./volumes/liferay/osgi/war:/opt/liferay/osgi/war
40   networks:
41     - default
42
43
44networks:
45 default:
46 external:
47   name: test
Step 4: Know about the Docker Compose Configuration
- Volumes
- These are used to persist data. Even if the container is removed, the data inside the volume remains safe.
- Ports
- Maps internal container ports to your host machine. For example, 5433:5432 means that PostgreSQL is accessible locally on port 5433.
- Networks
- Allow containers to communicate with each other using service names like Postgres.
- Depends_on
- Ensures the PostgreSQL container is started before Liferay attempts to connect.
Step 5: Properties for the portal-ext file for database connectivity
To enable Liferay to connect with PostgreSQL, you need the following database properties inside portal-ext.properties:
1jdbc.default.driverClassName=org.postgresql.Driver
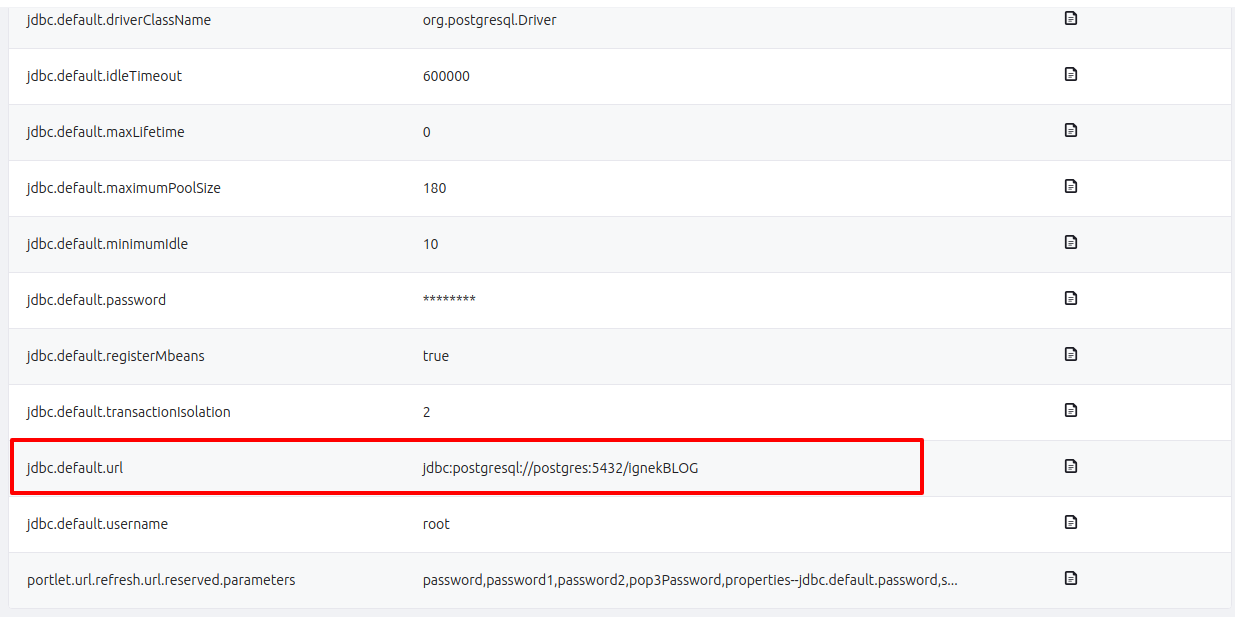
2jdbc.default.url=jdbc:postgresql://postgres:5432/ignekBLOG
3jdbc.default.username=root
4jdbc.default.password=root
5Note: Even if PostgreSQL is mapped to port 5433 on your local machine, within the Docker network, Liferay communicates using the internal container port 5432.
Step 6: Operating Liferay with PostgreSQL using Docker.
To start your setup:
Open your terminal and navigate to the project directory.
1sudo docker-compose upThis triggers the Liferay and PostgreSQL containers at once.

To manage containers:
List containers
1sudo docker ps -a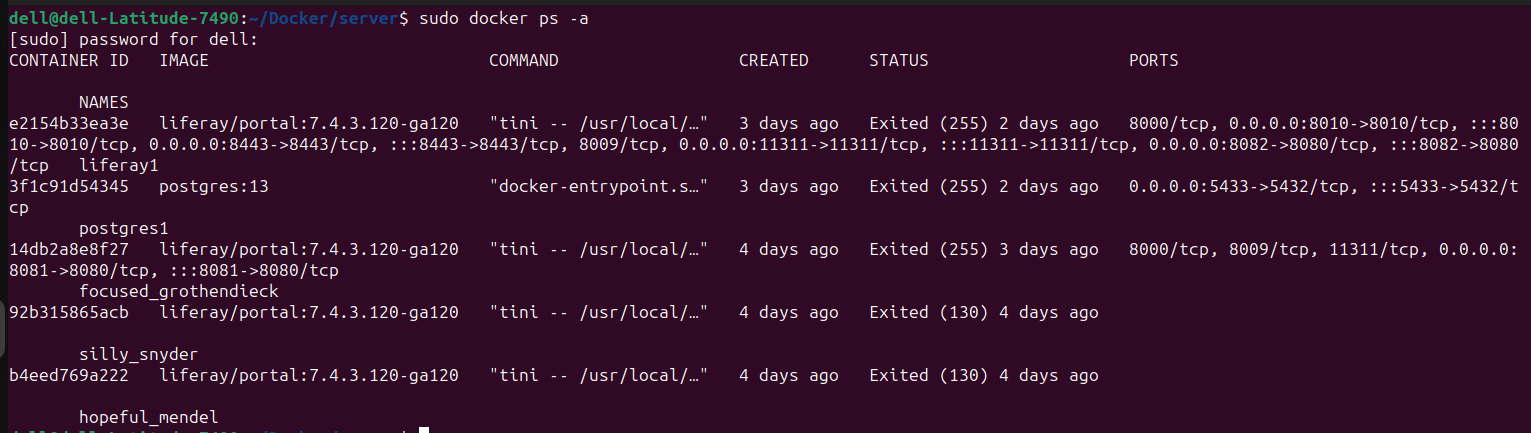
1sudo docker-compose downOR
1Press Ctrl + CStep 7: Connecting to the PostgreSQL Database
Once your containers are up, you can access PostgreSQL inside the container:
1sudo docker exec -it <Container ID or Name of image> /bin/bashIn our case, it is
1sudo docker exec -it postgres1 /bin/bash
inside the bash shell:
1psql -U root -d ignekBLOGTo view tables:
1\dt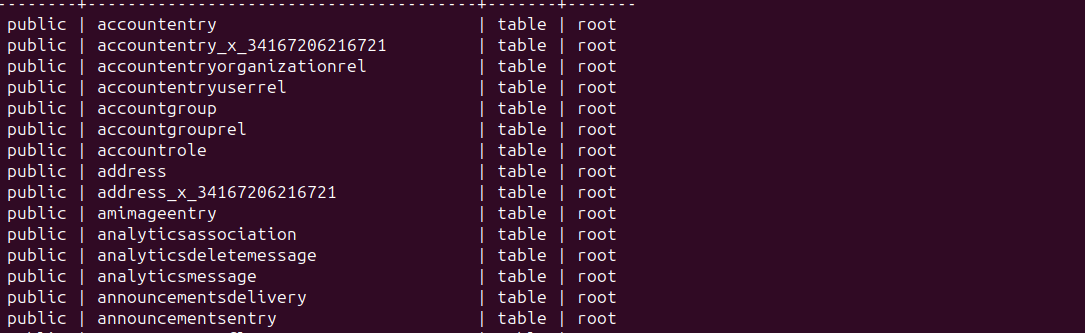
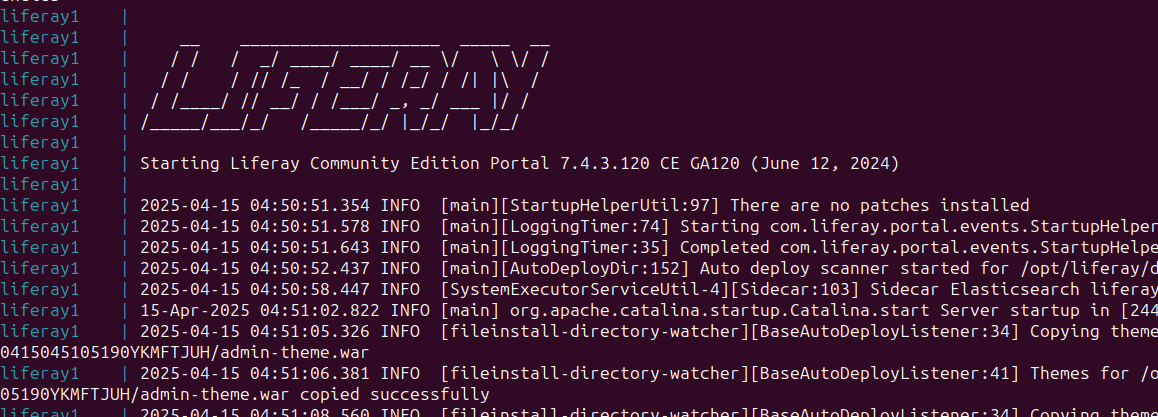
You can also be getting the logs of Liferay with your image name when you compose up the image:
Step 8: Accessing the Liferay Portal
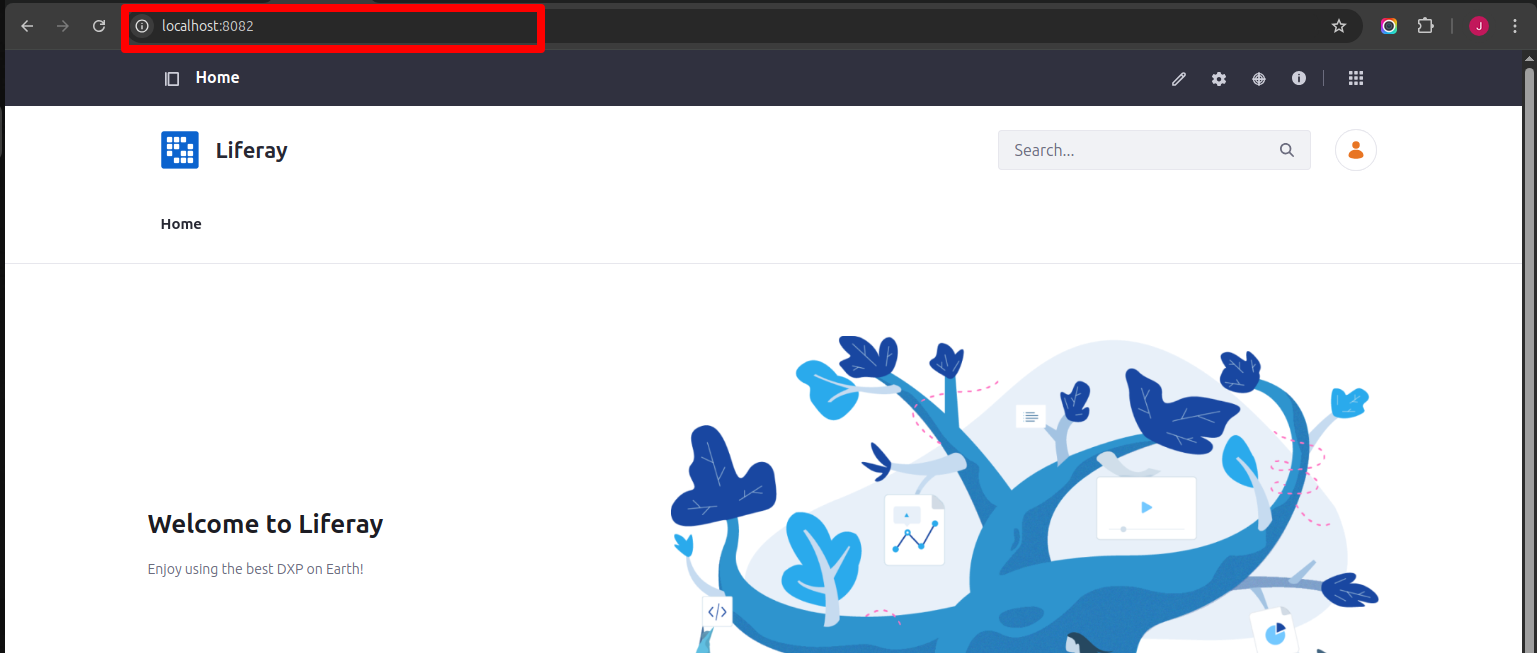
Open your browser and navigate to http://localhost:8082
You’ll be greeted with the Liferay welcome page. From here, complete the setup wizard or sign in if already configured.
Now navigate to the Control Panel > Server Administrator > Properties > Portal Properties.
And type jdbc.default.url into the search field. You can notice from the image below that you are successfully connected to PostgreSQL.
Conclusion
Using Docker to configure Liferay with PostgreSQL streamlines the development process while improving reliability by isolating dependencies and retaining vital data. This arrangement is ideal for teams working on enterprise portals who require a consistent and repeatable development environment. Volume mounts and container orchestration enable you to create a strong and scalable platform for your Liferay projects.


