Guide to configure Liferay with Jboss

Introduction
This document outlines the steps required to configure Liferay DXP 2026 Q1 with JBoss EAP 8.1 using a structured deployment approach. It covers the complete setup activity, including required package preparation, folder and deployment structure, application deployment, database driver configuration, datasource setup, server-level changes, application property updates, file permission settings, and external Elasticsearch configuration. The purpose of this guide is to support the configuration in a clear and organized manner so the environment can be prepared correctly for deployment and runtime use.
Prerequisites
- Liferay DXP WAR
- Liferay OSGI Bundle
- Jboss EAP 8.1
- Database Driver
- Elasticsearch package
Environment Requirements
- Java
- Liferay
Steps to configure Liferay
Step 1 : Initial Preparation
Create a base folder named liferay-dxp.
Extract the jboss-eap-7.4.0.zip file inside the liferay-dxp folder.
Rename the extracted JBoss folder to jboss-eap-7.4 for consistency.
Step 2 : Directory Structure
Organize the liferay-dxp root folder in the following structure:
liferay-dxp/
├── deploy/
├── jboss-eap-7.4/
├── osgi/
├── portal-ext.properties
└── data/
- deploy/ must be created manually.
- jboss-eap-7.4/ contains the JBoss installation.
- osgi/ is extracted from the Liferay OSGI bundle.
- portal-ext.properties must be created manually.
- data/ is created automatically during runtime.
Step 3 : Extract Liferay DXP War File
- Create the folder [J-boss home]/standalone/deployments/ROOT.war.
- Extract the Liferay DXP WAR file inside the ROOT.war folder.
- Create the file [J-boss home]/standalone/deployments/ROOT.war.deployed.
- Add the following content in that file:
ROOT.war
Step 4 : Setup Database Driver
Create the module folder structure based on the selected database:
- Postgres : [J-boss home]/modules/org/postgresql/main
- MySQL : [J-boss home]/modules/com/mysql/main
- Oracle : [J-boss home]/modules/com/oracle/main
Move the database JAR file into the corresponding main folder.
Create a module.xml file in that same folder and add below configuration.
1<?xml version="1.0" encoding="UTF-8"?>
2<module xmlns="urn:jboss:module:1.3" name="{driver path}">
3    <resources>
4        <resource-root path="{driver name}"/>
5    </resources>
6    <dependencies>
7        <module name="javax.api"/>
8        <module name="javax.transaction.api"/>
9    </dependencies>
10</module>
Example : {driver path} :
For postgres: org.postgresql
For mysql : com.mysql
driver name : postgresql-42.6.2.jar / mysql-connector-java-8.0.28.jar
Step 4 : Jboss Configuration
Edit the file [J-boss home]/standalone/configuration/standalone.xml and apply the following changes.
- Step 4.1 : System Properties
Add the following block after <extensions> :
1<system-properties>
2    <property name="liferay.home" value="/path/to/your/liferay-dxp"/>
3</system-properties>- Step 4.2 : Datasource Configuration
In the datasources subsystem, configure the datasource according to the selected database.
1<datasource jndi-name="{any jndi url}" pool-name="{any pool name}" enabled="true">
2    <connection-url>{database connection url}</connection-url>
3    <driver>{driver name that you have created below}</driver>
4    <security user-name="{username}" password="{password}"/>
5</datasource>
6
7<drivers>
8    <driver name="{any driver name}" module="{module path}">
9        <driver-class>{driver class name}</driver-class>
10    </driver>
11</drivers>
Example :
1<datasource jndi-name="java:/jdbc/LiferayPool" pool-name="LiferayPool" enabled="true" use-ccm="false">
2    <connection-url>jdbc:oracle:thin:@127.0.0.1:1521/test</connection-url>
3    <driver>oracle</driver>
4    <security user-name="admin" password="admin"/>
5</datasource>
6
7<driver name="oracle" module="com.oracle">
8    <driver-class>oracle.jdbc.driver.OracleDriver</driver-class>
9</driver>- Step 4.3 : Deployment Timeout
Increase the deployment timeout in the deployment-scanner configuration :
1<deployment-scanner path="deployments" relative-to="jboss.server.base.dir" scan-interval="5000" deployment-timeout="600"/>- Step 4.4 : Security Domain
For JBoss 7.4 Only, add the following security domain in subsystem xmlns="urn:jboss:domain:security:2.0" :
1<security-domain name="PortalRealm">
2    <authentication>
3        <login-module code="UsersRoles" flag="required"/>
4    </authentication>
5</security-domain>- Step 4.5 : JSP Compilation (Undertow)
Under the undertow subsystem and servlet-container, comment / remove the below line :
<jsp-config development="true"/>
Step 5 : JVM Tuning
Edit the file [J-boss home]/bin/standalone.conf and add the following line at the bottom / override existing property :
1JAVA_OPTS="$JAVA_OPTS -Xms4g -Xmx6g -XX:MaxMetaspaceSize=2048m -Dfile.encoding=UTF-8 -Duser.timezone=GMT"Step 6 : Liferay Configuration
Create the portal-ext.properties file in the liferay-dxp root directory and add the following properties :
liferay.home=/path/to/your/liferay-dxp
jdbc.default.jndi.name={jndi url}
osgi.module.dir=${liferay.home}/osgi/modules
osgi.core.dir=${liferay.home}/osgi/core
Example :
jndi url: jdbc.default.jndi.name=java:jboss/datasources/LiferayPool
After completing all the above configurations, navigate to [J-boss home]/bin.
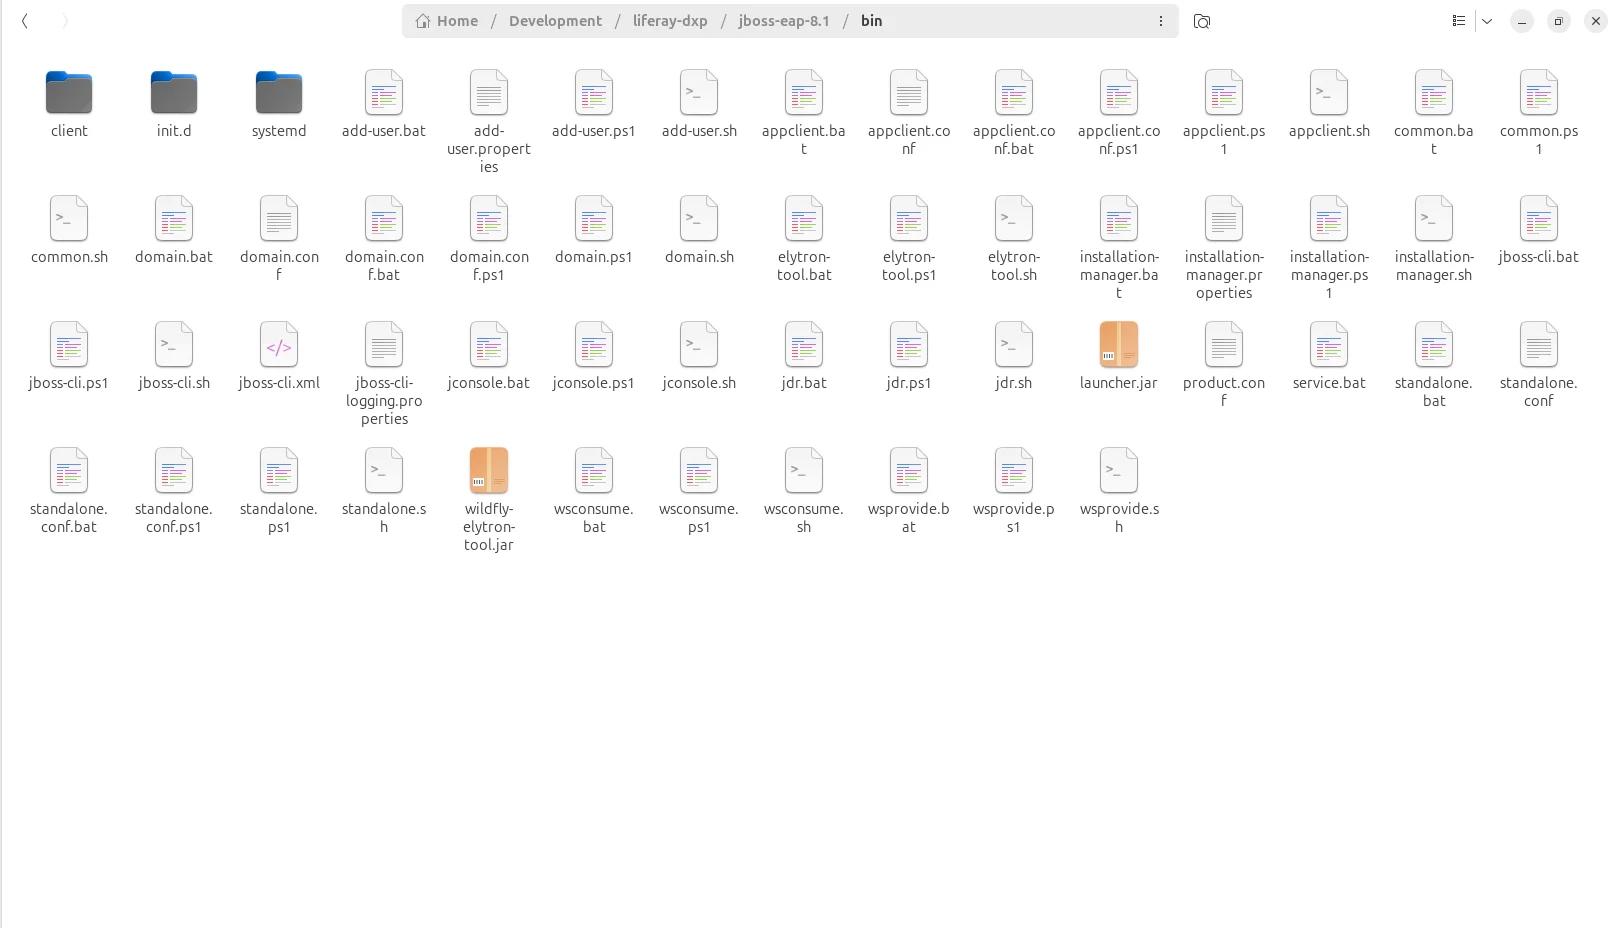
Now execute the command as shown in below image :
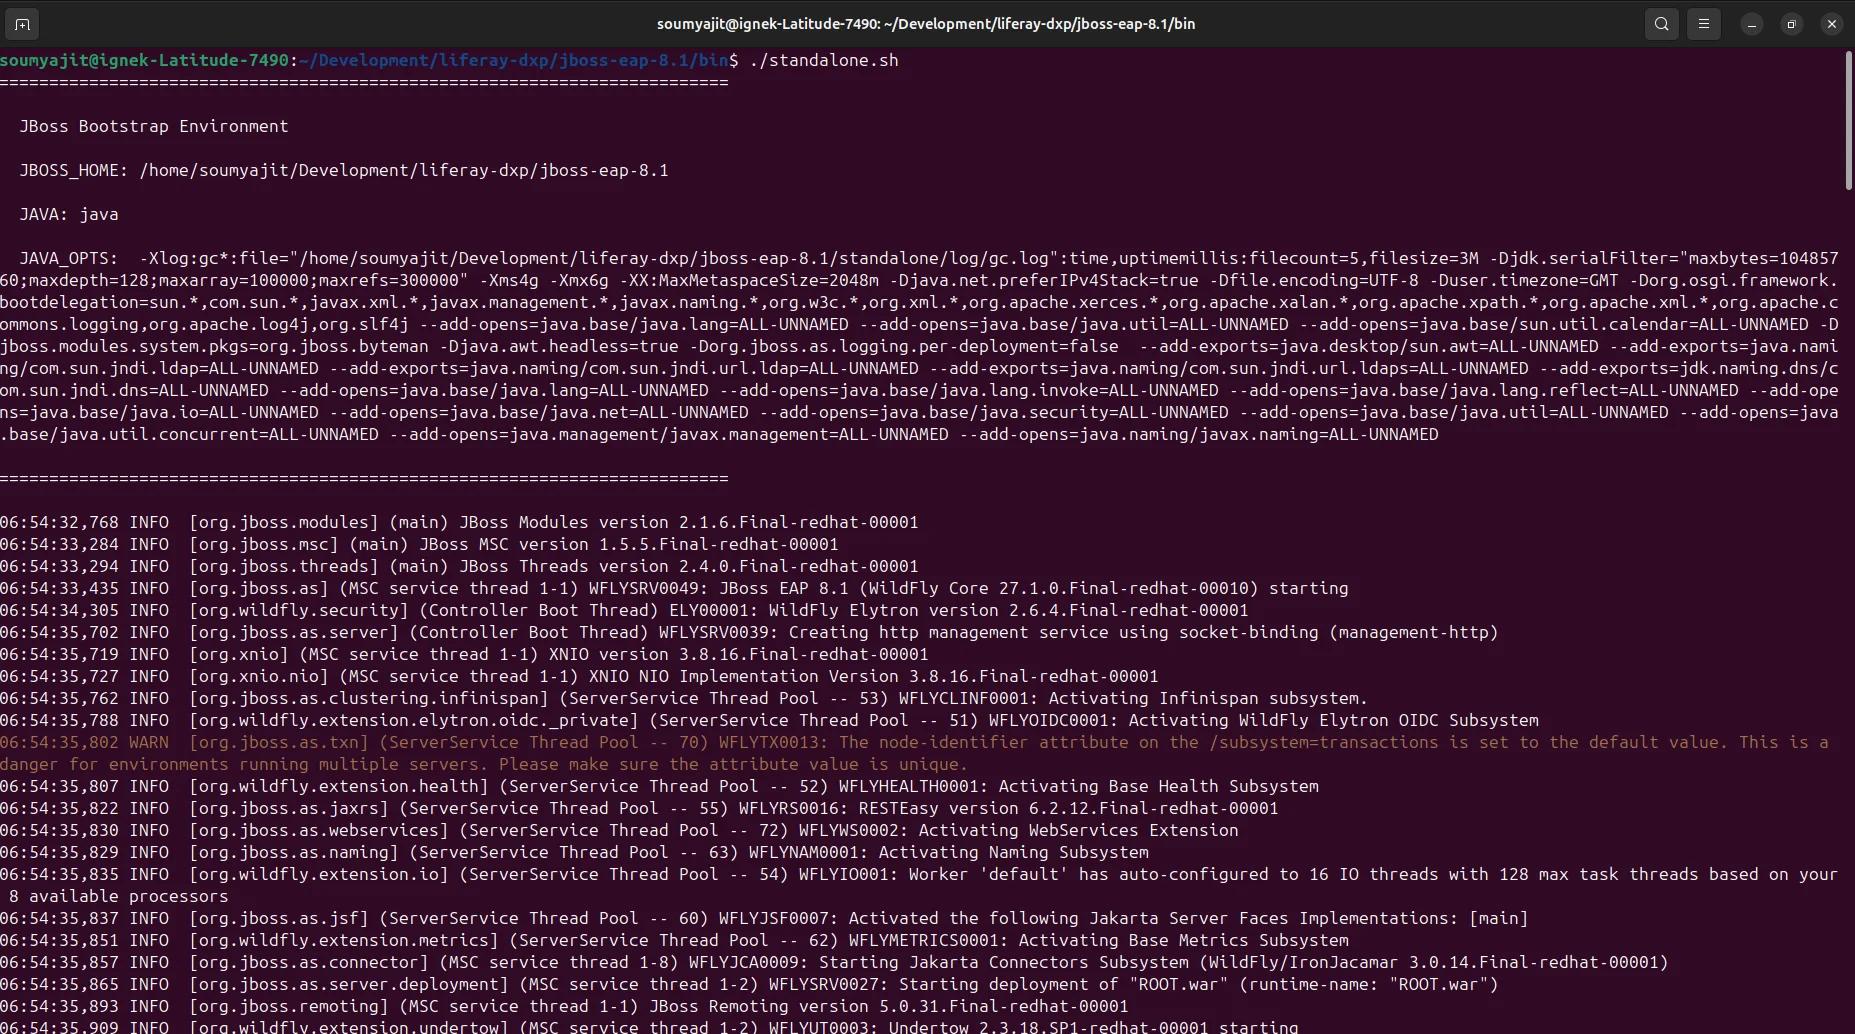
- Linux : standalone.sh
- Windows : standalone.bat
NOTE : please make sure to configure external elastic search, as sidecar will not work in this setup.
Conclusion
By completing the above configuration steps, the environment is prepared with the required deployment structure, server settings, and connectivity setup for proper execution. The overall process helps ensure that the necessary files, properties, and runtime configurations are placed correctly before startup. This setup can also be used as a reference point for future troubleshooting, updates, and server setup.