Liferay
Integrate Sonar With Liferay Workspace

Pratik Kheni•May 31, 2024
Introduction:
Sonar is an open-source platform used for continuous inspection of code quality.
It helps developers and development teams manage and improve the quality of their codebase to identify bugs, vulnerabilities, and code smells.
Prerequisites:
- Liferay
- SonarQube 8.9
- Java 11.0.18
- Gradle
To integrate Sonar with Liferay workspace, follow the below steps:
- Setup the Sonar
- Integrating sonar with Liferay Workspace
1. Steps to set the Sonar:
- Download the sonar zip file from the sonar Download page.
- Extract the zip file once the download is completed in your preferred location or drive.
- Go to the bin folder and then based on the operating system go to the respective folder.

- To start the Sonar application, click on StartSonar.

In the case of Linux, use sonar.sh to start the server through the command prompt.
- Once the “Sonar is up” message comes to the console or log file. It means the SonarQube server is up now. To check the log, Go to the logs folder. Open the sonar.log file.
- To test whether the sonar is installed correctly or not access the sonar server in the browser http://localhost:9000/ (Default port).
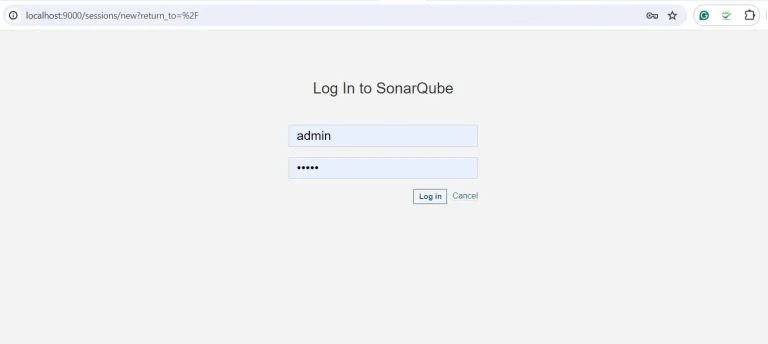
To Log in to Sonar, Login: admin Password: adminTo check the system information, click on the Administration > System > System Info.
2. Integrating sonar with Liferay Workspace:
- We add sonar properties to our liferay workspace project.
- Create sonar.gradle file in the same location as the liferay build.gradle file and add the following properties:
1apply plugin: "org.sonarqube"
2
3sonar {
4    properties {
5        // Insert other SonarQube properties here
6        property 'sonar.projectName', 'Proect Name'
7        property 'sonar.projectKey', 'project-name'
8        property 'sonar.host.url', 'http://localhost:9000'
9        property 'sonar.login', 'admin'
10        property 'sonar.password', 'admin'
11    }
12}- Add sonar-related properties in the build.gradle file.
1// build.gradle
2plugins {
3    id 'java'
4    id "jacoco"
5    id "org.sonarqube" version "4.0.0.2929"
6}
7
8jacoco {
9    toolVersion = "0.8.7"
10}
11
12dependencies {
13    // Use JUnit test framework
14    testCompile group: "junit", name: "junit", version: "4.12"
15    testImplementation 'org.junit.jupiter:junit-jupiter-api:5.6.1'
16    testRuntimeOnly 'org.junit.jupiter:junit-jupiter-engine'
17    testIntegrationImplementation 'org.junit.jupiter:junit-jupiter-api:5.6.1'
18    testIntegrationRuntimeOnly 'org.junit.jupiter:junit-jupiter-engine'
19    testImplementation group: 'org.mockito', name: 'mockito-core', version: '5.2.0'
20    testImplementation group: 'org.mockito', name: 'mockito-inline', version: '5.2.0'
21
22}
23
24apply from: "$project.rootDir/sonar.gradle"
25
26subprojects {
27    sonar {
28        properties {
29	        property 'sonar.coverage.jacoco.xmlReportPaths', "${rootProject.projectDir}/build/reports/jacoco/codeCoverageReport/codeCoverageReport.xml"
30	        property 'sonar.cpd.exclusions','**/com/portal/**'
31	        property 'sonar.coverage.exclusions','**/com/portal/**’
32        }
33    }
34        tasks.withType(Test).configureEach {
35        useJUnitPlatform()
36    }
37}
38
39jacocoTestReport {
40    reports {
41        xml.required = true
42        html.required = true
43        html.outputLocation = layout.buildDirectory.dir('jacocoHtml')
44    }
45}- Save the file.
- Open the liferay workspace path in the command prompt.
- Run the command “.\gradlew.bat test codeCoverageReport sonar” .
- It will take some time to execute.
- Once you see “Build Successful”.
You can see the project result in Sonar sever in the path “http://localhost:9000/projects” with the Liferay workspace name.


