Customize and handle Liferay login using a fragment

Introduction
In Liferay, the default login portlet serves the basic authentication flow but often falls short when projects demand a custom look & feel. Fragments provide a lightweight and flexible way to override or enhance the login experience without touching the core portal code. By creating a login fragment, developers can redesign the form, inject custom validations using scripts, or extend the login process while still leveraging Liferay’s built-in authentication framework. This approach keeps customization upgrade-safe and fully aligned with Liferay best practices.
Prerequisites :
- Liferay DXP/Portal 7.X
- Basic knowledge of Liferay
Environmental Requirements:
- Liferay Portal or DXP
Ways to customize Liferay’s login using fragments:
01) Create a new site or use guest site
- The first step in customizing Liferay's login functionality out of the box is to build a new Liferay site if you want site-level login capabilities, or to use Liferay's existing guest site.
- Here we will create a new site.
- Go to Control Panel > Sites > Create a new site. Give the site a name that suits your needs.
02) Add public page for sign-in
- In the next stage, we'll develop Liferay's public page and place it at the top of the page list.
- I created a page in my test site and gave it the name sign-in.
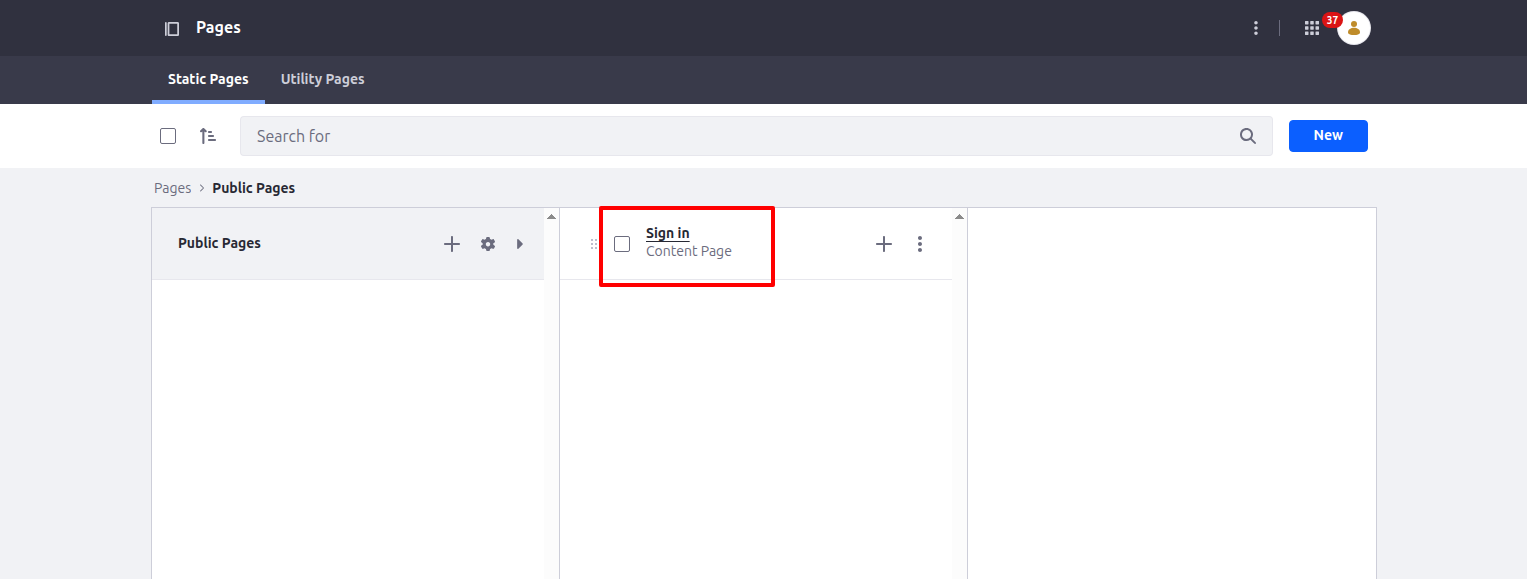
- As you can see in the image above, we need to create a blank page in our newly created site.
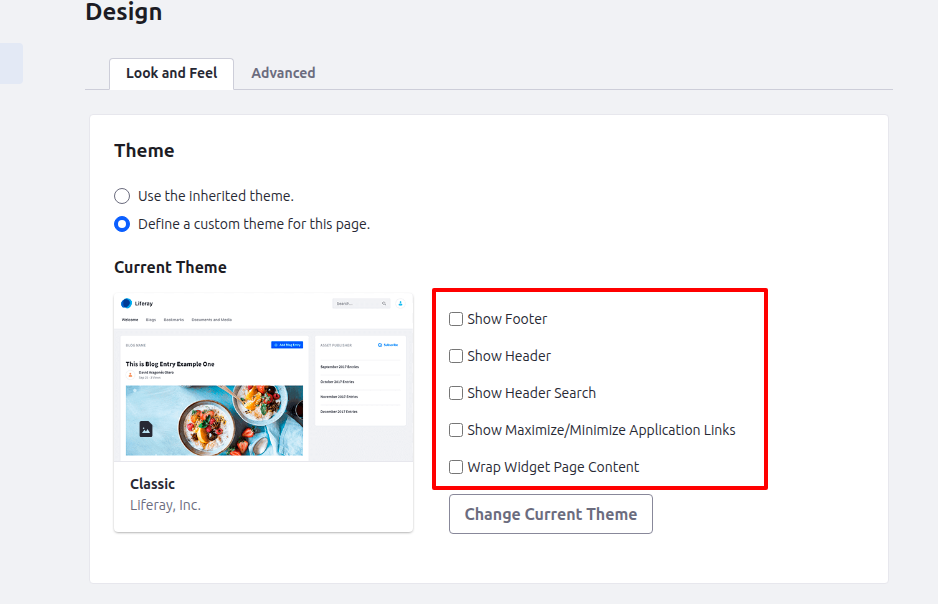
- Go to the page's setup and hide it from navigation, as well as close the header and footer sections.
03) Create a fragment for sign-in implementation & design
- Now we must develop a Liferay fragment to design the sign-in page and map the login functionality.
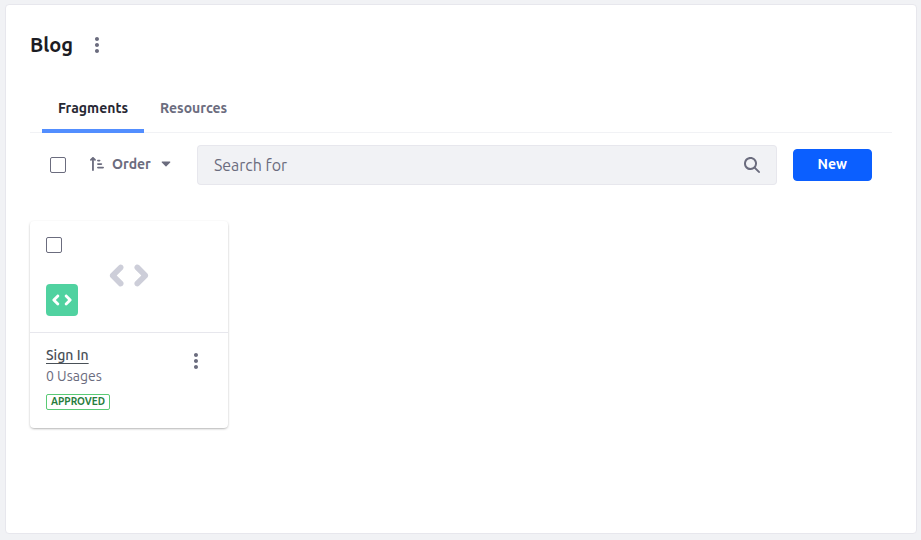
- As you can see in the image above, I have created a Sign in fragment under the blog folder.
- Now we design and customize the default Liferay’s login functionalities.
- HTML
1[#if themeDisplay.isSignedIn() && !themeDisplay.getLayout().isSystem()]
2<script>
3	window.location.replace(
4		'${themeDisplay.getPathFriendlyURLPrivateGroup() + themeDisplay.getScopeGroup().getFriendlyURL()}'
5	);
6</script>
7
8[@liferay_aui.script]
9window.location.replace("${themeDisplay.getPathFriendlyURLPrivateGroup() +
10themeDisplay.getScopeGroup().getFriendlyURL()}"); [/@] [/#if]
11
12<div class="bg-brand-primary-darken-5 custom-sign-in vh-100">
13	<div class="h-100 no-gutters row">
14		<div class="col-lg-4 col-md-5 d-flex form-column text-neutral-0">
15			<div class="align-items-center d-flex flex-column justify-content-center mr-6 custom-login-form">
16				<a data-lfr-editable-id="home" data-lfr-editable-type="link" href="#">
17					<img class="ml-3 mt-6 position-absolute sign-in-logo" data-lfr-editable-id="custom-logo" data-lfr-editable-type="image" src="[resources:logo_inv.svg]" />
18				</a>
19
20				<div class="ml-lg-10 ml-md-10 ml-sm-0 w-100">
21					<h3 class="login-title">Sign in to Page</h3>
22					[@liferay_portlet.runtime					portletName="com_liferay_login_web_portlet_LoginPortlet" /]
23				</div>
24			</div>
25		</div>
26
27		<div class="col-lg-8 col-md-7 sign-in-image"></div>
28	</div>
29</div>- Javascript
1const EMAIL_INPUT_ID = '#_com_liferay_login_web_portlet_LoginPortlet_login';
2const PASSWORD_INPUT_ID =
3	'#_com_liferay_login_web_portlet_LoginPortlet_password';
4
5function inputValidation() {
6	const emailInput = fragmentElement.querySelector(EMAIL_INPUT_ID);
7	const passwordInput = fragmentElement.querySelector(PASSWORD_INPUT_ID);
8
9	if (emailInput) {
10		window.onload = function () {
11			emailInput.focus();
12		};
13	}
14
15	emailInput.focus();
16
17	const EMAIL_REGEX = /^[\w-.]+@([\w-]+\.)+[\w-]{2,4}$/g;
18
19	const TEXT_VARIANT = {
20		danger: 'border-danger',
21		success: 'border-success',
22	};
23
24	const isEmailValid = (email) => {
25		const regex = new RegExp(EMAIL_REGEX);
26
27		return regex.test(email);
28	};
29
30	function onInputChange(element, validation) {
31		if (validation) {
32			element.classList.remove(TEXT_VARIANT.danger);
33			element.classList.add(TEXT_VARIANT.success);
34
35			return;
36		}
37
38		element.classList.remove(TEXT_VARIANT.success);
39		element.classList.add(TEXT_VARIANT.danger);
40	}
41
42	emailInput.addEventListener('change', () =>
43		onInputChange(emailInput, isEmailValid(emailInput.value))
44	);
45
46	passwordInput.addEventListener('change', () =>
47		onInputChange(passwordInput, passwordInput.value !== '')
48	);
49}
50
51inputValidation();- As you can see in the code above, I have designed a login fragment as per my requirement.
- You can design with CSS and JS as per your requirement.
- I've added functionality that allows users to see the login element while they're signed in, but not when they're not.
- You can also add new HTML tags and CSS to add extra functionality.
04) Put fragment on the page
- Now, open the page editor for the sign in page and place the sign in fragment on it.

- As you can see in the image above, just search for the fragment and place the fragment on the page.
- Publish the sign in page and hit the page URL in the incognito window.
- For me the URL is “http://localhost:8080/web/test-1/sign-in”
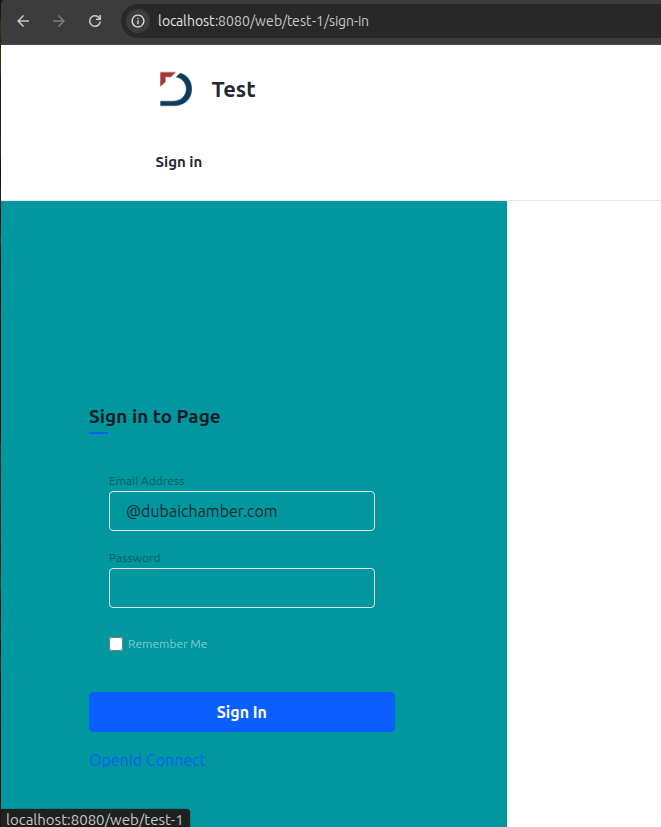
- As shown in the image above, this is my custom login page design, which allows you to simply log in to the Liferay portal.
Conclusion
Customizing the login experience in Liferay with fragments gives you the perfect balance between flexibility and maintainability. Instead of overriding core components, you can tailor the design, add validations, and enhance usability—all while keeping the solution upgrade-safe. Whether it’s aligning the login page with your branding or introducing custom logic, fragments make the process simple and effective. With this approach, you not only improve the user experience but also maintain clean, modular, and future-ready portal development.