QR code generator app

Introduction
Adding QR code generation and download features to a React.js app makes sharing information easy. QR codes can store data like website links, text, and images. They were first used for product labeling and inventory tracking but are now common in daily life. You can find them in UPI payments, WhatsApp contact sharing, and Play Store app links.
In this blog, we’ll show you how to generate and download QR codes in a React.js app. This will let users create, save, share, or print their own QR codes with ease.
Prerequisites:
- Node.js and npm
- React
- MUI
- MUI Icons
- Qrcode
- react-color
Use Cases of Custom QR Codes in Your React App:
- Product Information: Generate QR codes that link to product details like pricing and reviews.
- Event Ticketing: Use QR codes for concert, flight, or conference tickets, allowing quick access for event entry.
- Contact Information: Share contact details easily through QR codes.
- App Downloads: Direct users to your app’s store page via QR codes for simple installation.
- Wi-Fi Sharing: Share Wi-Fi credentials with a scannable QR code for easy connection.
- Payment Links: Generate QR codes for payment links via UPI or PayPal.
- Dynamic QR Codes for Marketing: Use QR codes to track marketing campaigns, offering promotions or discounts.
We’ll show you how to generate and customize QR codes in React.js to enhance your app’s functionality.
Start the React App
If you don’t have a React project yet, you can make one like this:
1//Create react app using the following command
2npx create-react-app qrcode_generator
3
4//Install the required library
5npm i @mui/material @emotion/react @emotion/styled @mui/icons-material
6npm i qrcode
7npm i react-color
About qrcode Library:
The qrcode library is a versatile tool for generating QR codes in React. It supports customization, allowing you to create scannable codes for URLs, text, and more. With options for data types, sizes, and error correction, it simplifies adding QR functionality to your app.
In our React project, App.js serves as the main entry point. It manages state, processes user actions, and renders core components. Below is the code for App.js:
1//Necessary Imports
2
3function App() {
4  const [qrData, setQrData] = useState({ link: "", fgColor: "#000000", bgColor: "#ffffff" });
5
6  const handleQRCodeGenerate = (link, fgColor, bgColor) => {
7    setQrData({ link, fgColor, bgColor });
8  };
9
10  return (
11    <Box>
12                <QRConfiguration onQRCodeGenerate={handleQRCodeGenerate} />
13                <GenerateQR
14                 link={qrData.link}
15                    fgColor={qrData.fgColor}
16                    bgColor={qrData.bgColor}
17               />
18    </Box>
19  );
20}
21
22export default App;
23
In this code, the App.js component manages the QR code generation functionality by using React state and passing data between two child components.
Functionality:
- State Management:
- The GenerateQR component receives the latest qrData (link, foreground color, and background color) from the state. It is responsible for generating and displaying the QR code based on these values.
- The main idea is that QRConfiguration captures user input, and GenerateQR updates the QR code dynamically as the state changes.
- handleQRCodeGenerate Function:
- This function is passed down as a prop to the QRConfiguration component.
- When the QRConfiguration component triggers the QR code generation, this function updates the qrData state with the new values for link, fgColor, and bgColor.
- Rendering the QR Code:
- The GenerateQR component receives the latest qrData (link, foreground color, and background color) from the state. It generates and displays the QR code based on these values.
The main function is to capture user input in QRConfiguration and update the QR code in GenerateQR dynamically as the state changes
1//Necessary Imports
2
3function QRConfiguration({ onQRCodeGenerate }) {
4 const [link, setLink] = useState("");
5 const [fgColor, setFgColor] = useState("#000000");
6 const [bgColor, setBgColor] = useState("#ffffff");
7 const [showColorPicker, setShowColorPicker] = useState(false);
8
9 const handleCreateQRCode = () => {
10 onQRCodeGenerate(link, fgColor, bgColor);
11 };
12 const handleColorChange = (color, type) => {
13 if (type === "fgColor") {
14 setFgColor(color.hex);
15 } else if (type === "bgColor") {
16 setBgColor(color.hex);
17 }
18 };
19
20 return (
21 <Container>
22 <Typography>
23 Generate Your Custom QR Code
24 </Typography>
25
26 <TextField
27 label="Enter URL"
28 value={link}
29 onChange={(e) => setLink(e.target.value)}
30 />
31 <Box>
32 <Button
33 onClick={() => setShowColorPicker(!showColorPicker)}
34 >
35 {showColorPicker ? "Close Color Pickers" : "Customize Colors"}
36 </Button>
37
38 {showColorPicker && (
39 <Box>
40 <Typography>
41 Pick QR Code Foreground Color:
42 </Typography>
43 <ChromePicker
44 color={fgColor}
45 onChange={(color) => handleColorChange(color, "fgColor")}
46 />
47 <Typography>
48 Pick QR Code Background Color:
49 </Typography>
50 <ChromePicker
51 color={bgColor}
52 onChange={(color) => handleColorChange(color, "bgColor")}
53 />
54 </Box>
55 )}
56
57 <Button
58 onClick={handleCreateQRCode}
59 disabled={!link}
60 >
61 Generate QR Code
62 </Button>
63 </Box>
64 </Container>
65 );
66}
67
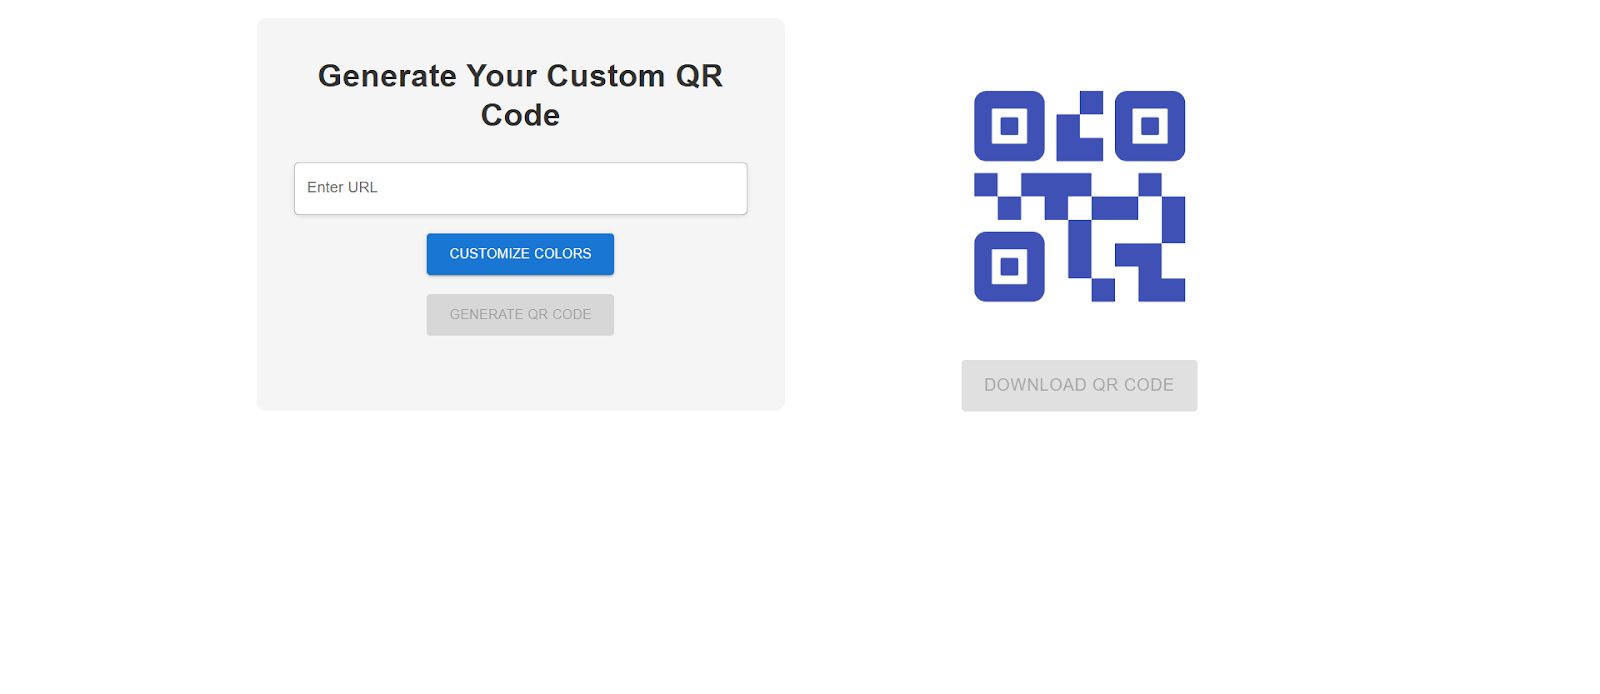
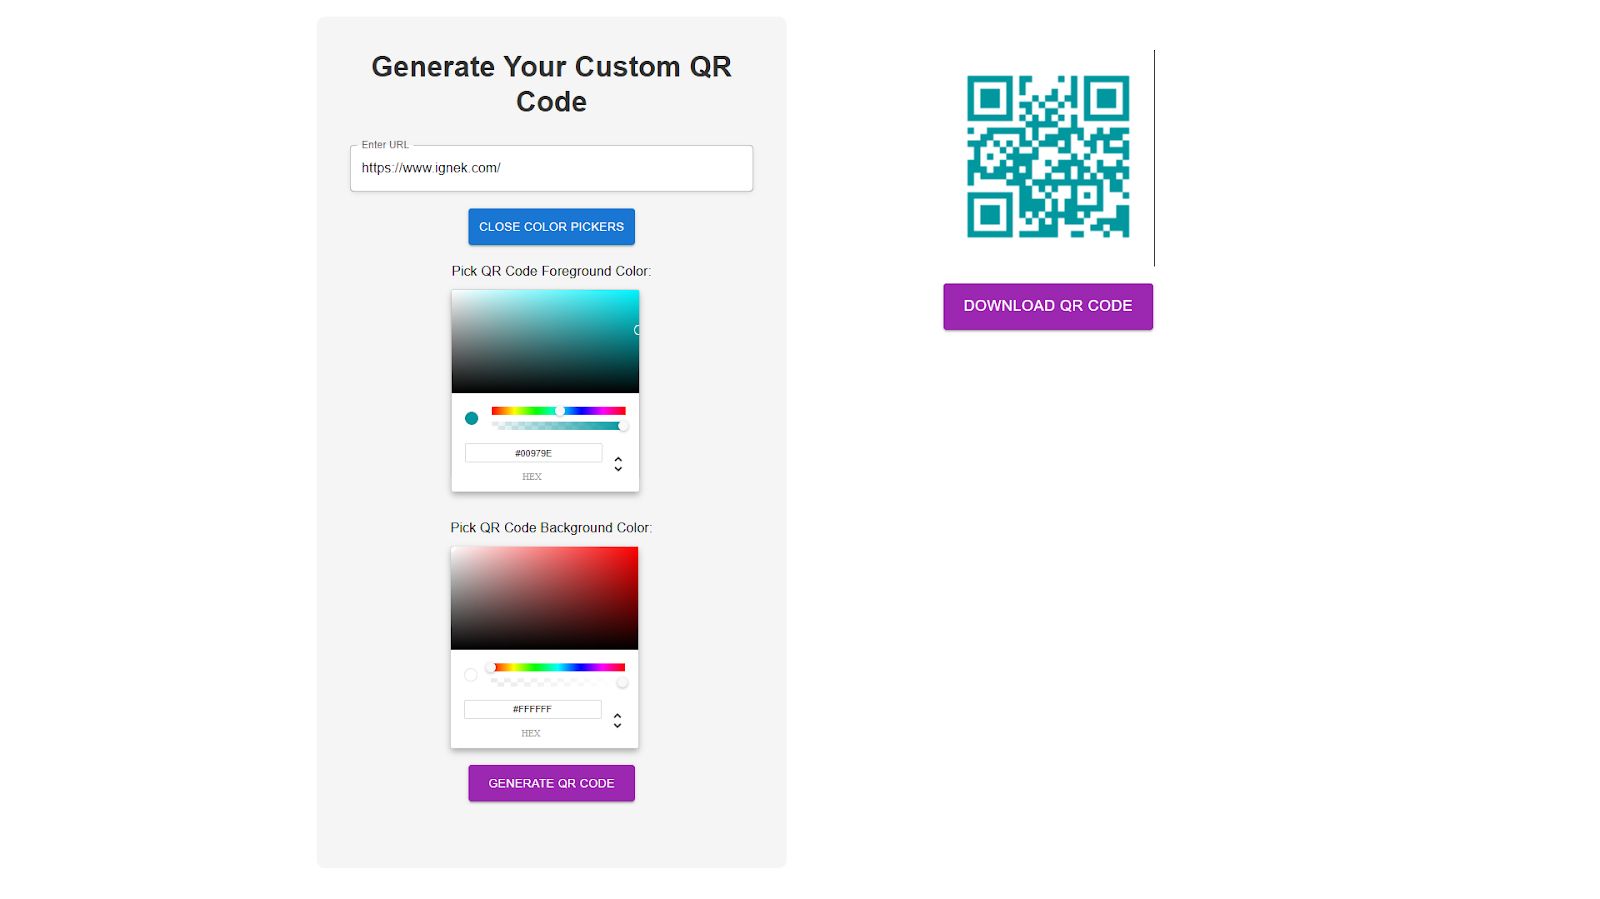
68export default QRConfiguration;The QRConfiguration component lets users customize their QR code by entering a URL and choosing foreground and background colors. It stores these values in the state. When the "Generate QR Code" button is clicked, it calls onQRCodeGenerate with the selected details. The button stays disabled until a valid URL is entered.
1//Necessary Imports
2
3function GenerateQR({ link, fgColor, bgColor }) {
4 const [isGenerating, setIsGenerating] = useState(true);
5 const [qrCodeDataUrl, setQrCodeDataUrl] = useState("");
6
7 useEffect(() => {
8 if (link) {
9 setIsGenerating(true);
10 QRCode.toDataURL(link, { color: { dark: fgColor, light: bgColor } })
11 .then((url) => {
12 setQrCodeDataUrl(url);
13 setIsGenerating(false);
14 })
15 .catch((err) => {
16 console.error(err);
17 setIsGenerating(false);
18 });
19 }
20 }, [link, fgColor, bgColor]);
21
22 const handleDownload = () => {
23 if (qrCodeDataUrl) {
24 const link = document.createElement("a");
25 link.href = qrCodeDataUrl;
26 link.download = "qrcode.png";
27 link.click();
28 }
29 };
30
31 return (
32 <Box>
33 {isGenerating ? (
34 <QrCode2RoundedIcon/>
35 ) : (
36 <>
37 <img src={qrCodeDataUrl} alt="QR Code" />
38 </>
39 )}
40 <Button onClick={handleDownload} disabled={isGenerating}>
41 Download QR Code
42 </Button>
43 </Box>
44 );
45}
46
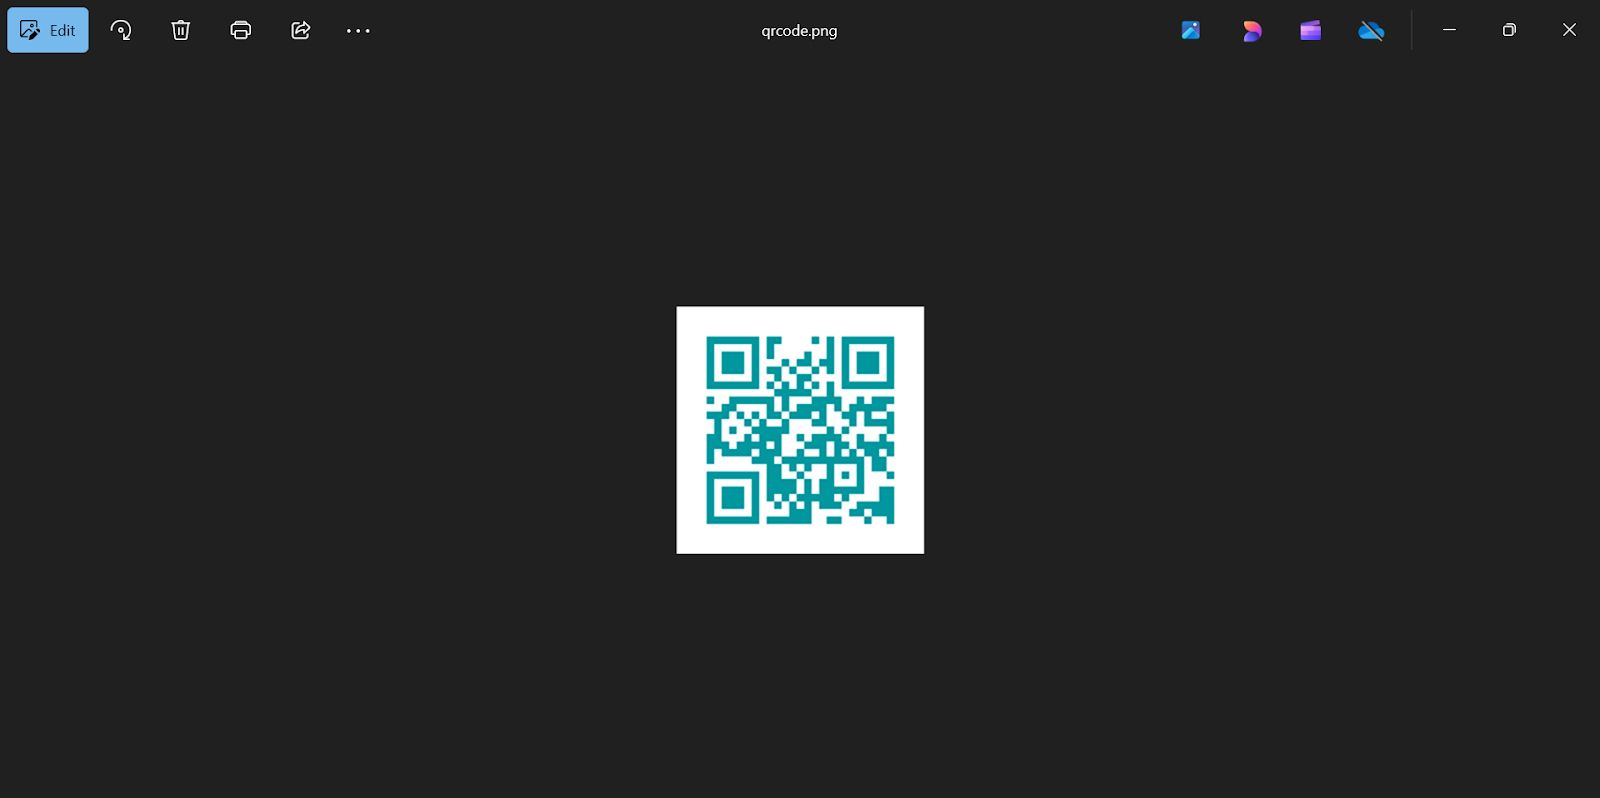
47export default GenerateQR;Output:
Conclusion:
In conclusion, this React app allows users to easily generate custom QR codes by inputting a URL and selecting foreground and background colors. The app efficiently manages state and dynamically updates the QR code based on user preferences.